
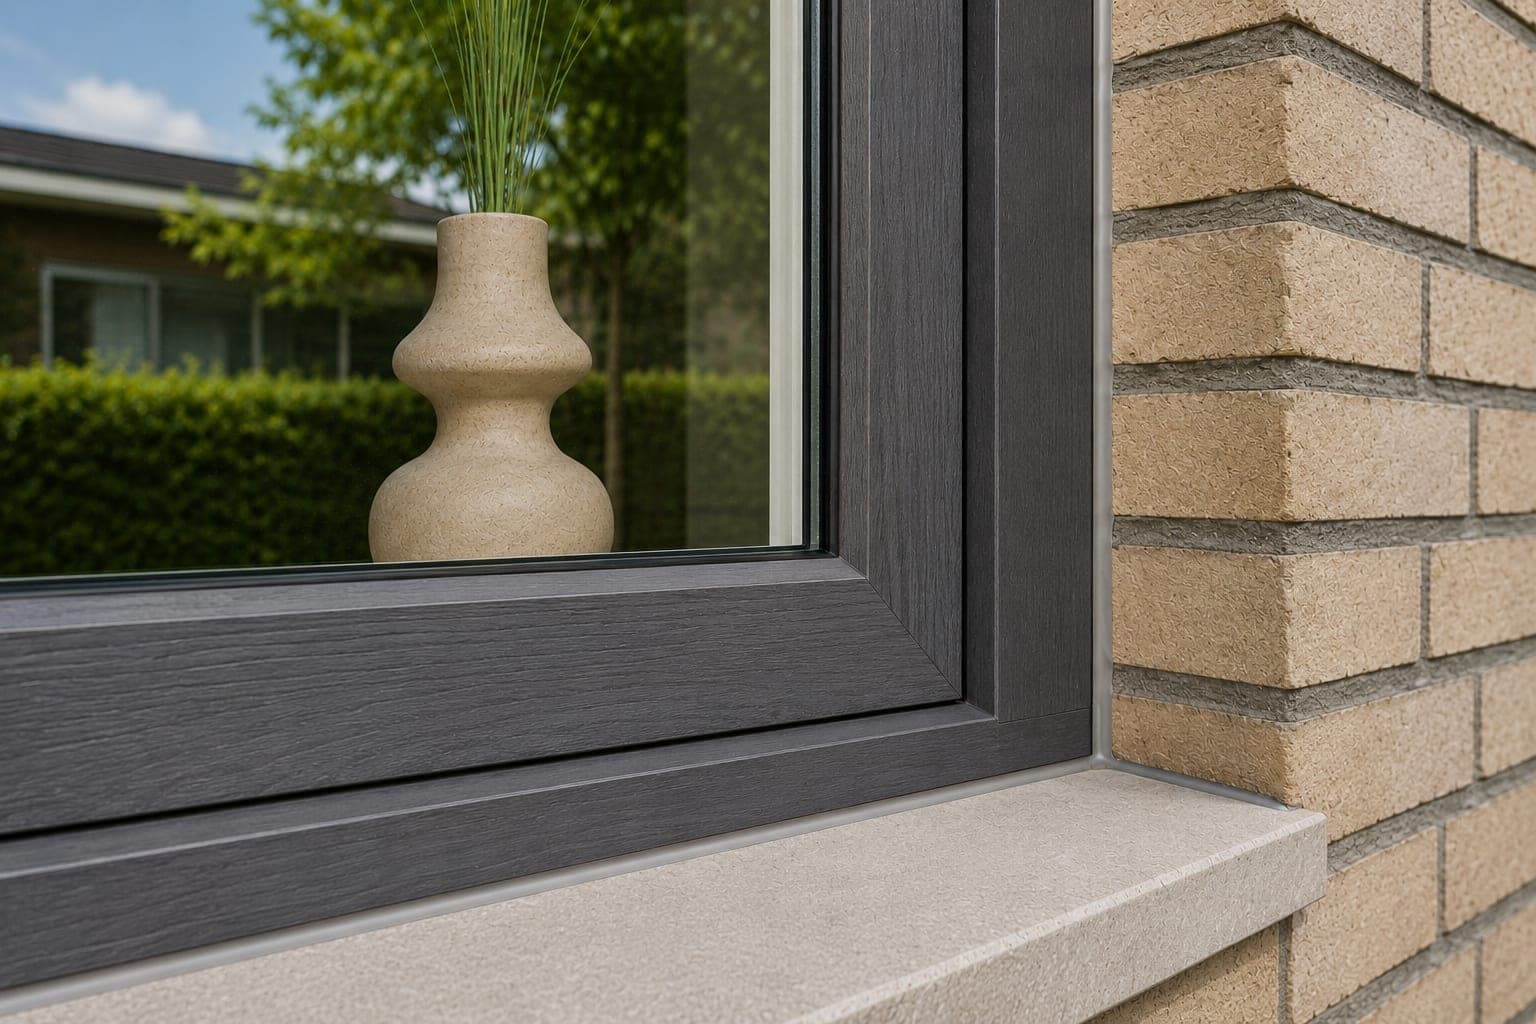
Window frames & glazing
Facade and window frame sealing
Connection joints between window frame and facade, joints between facade elements and glazing sealant. We apply sealant as a subcontractor for contractors, facade builders, window frame manufacturers and painting contractors.
Since 1959
Experience and craftsmanship from Utrecht
Clear communication
Short lines, clear agreements
100% satisfaction
We only leave once you are satisfied
Lasting quality
Top-quality materials for a long-lasting result
What we do
Where we seal
The connection joint between window frame and facade is the hardest-working detail of the whole building envelope. Two materials that expand differently meet there. We seal that joint in new builds, renovation and planned maintenance, throughout the Netherlands.
Timber window frames
Timber moves with moisture. We only apply sealant once the substrate is dry and the primer coat is on. On painted work we use a paintable sealant, so the painter can go over it afterwards.
Aluminium facade elements
Aluminium expands more than twice as much as concrete. The joint has to take up that difference, so the width follows from the movement. No acetic-curing silicone sealant goes on bare aluminium.
Plastic window frames
Plastic expands roughly seven times as much as concrete. In the sun that rises quickly. We work that movement through to the joint width instead of sticking to the standard size.
Timber frame elements
In timber frame construction, the connection to the facade is the vulnerable point. We agree where the airtight layer sits and where the weather-resistant layer, so the sealant joint is not given two jobs at once.
We also replace sealant joints. The old joint comes out completely, the substrate is cleaned and dried, and a primer is used where needed. With us, no new sealant goes over an old layer.
Technique
How we build up a joint
A connection joint rarely fails because of the sealant itself. It fails because of its dimensions and its build-up. That is what we watch:
Adhesion on two sides, not three
If the sealant also adheres to the bottom of the joint, the middle can no longer stretch and it tears. That is why a backing rod or bond-breaker tape goes behind it. Outdoors and where water loads apply, we use closed-cell PE, oversized by 25 to 50 per cent.
At least 8 millimetres wide
For an elastic sealant, the VMRG specifies a minimum joint width of 8 mm. Plasto-elastic is 9 mm, plastic 10 mm. Going narrower for aesthetic reasons costs you the joint.
The depth follows from the width, but the rule differs
Bostik uses: width divided by three, plus 6 mm. A joint of 18 mm then becomes 12 mm deep. Soudal arrives at 9 mm for that same joint. No standard prescribes either of the two, so we calculate with the data sheet of the sealant that goes in.
What always applies: in the middle the sealant must be thinner than along the flanks, otherwise it cannot distribute the movement. And these rules of thumb are about facade joints. For a 5 mm sanitary joint they break down: it would end up deeper than it is wide.
Class 25 is a test result, not a design value
ISO 11600 class 25 says what the sealant achieved in the lab. We calculate with the maximum permissible deformation from the manufacturer's data sheet. In practice that makes a difference.
A tear in the middle of the joint is a design fault
If the sealant comes away along the flank, something was wrong with the preparation. If it tears in the middle, the joint was designed too narrow. Refilling does not solve that, so we report it instead of sealing over it.
Glazing
Sealing glazing
Glazing sealant is different work from a connection joint. The rebate has its own logic, and you should not smear it shut.
Which standard applies now
NPR 3577:2011 is the current code of practice for glazing buildings. NEN 3576:2009 was withdrawn on 21 July 2026. On supplier websites you still often see the designation NEN 3576-1:2012. That edition does not exist. We work to NPR 3577:2011 and the manufacturer's application instructions.
Drainage slots stay open
The rebate is pressure-equalised. Water that gets in must be able to get out. If you seal the slots in the sill shut, the insulating glass stands in water and the edge seal fails. The VMRG specifies: at least one opening for a sill up to 600 mm, two for a longer sill, 8 mm round or 5 by 25 mm.
If we find sealed-up slots on arrival, we open them and record that this is how we found them.
Glazing sealant from before 1994 is suspected of containing asbestos
Old glazing sealant and putty fall into risk class 2 by default. We do not just cut that out. First a survey, then the demolition notification, and removal according to protocol by a certified company. After that we seal the new glazing.
Choice of material
The wrong sealant costs more than no sealant
Acetic-cure silicone stays in the van
Not on bare aluminium, zinc, lead, natural stone or concrete. On alkaline concrete the sealant loses its adhesion. On zinc and lead the acetic acid attacks the metal. We then choose a neutral-curing sealant.
Does paint need to go over it
Silicone is not paintable. Paint does not adhere to it and pulls back. If the sealant work runs ahead of the painting, we use acrylic or a paintable hybrid, and agree the paint system in advance.
We work with OTTO-CHEMIE as our preferred brand. Depending on the application, also with Sika, Den Braven, Tremco Illbruck, Bostik, Soudal, Connect Products, Würth and SABA. If your specification prescribes a brand, we follow it.
How it works
From request to handover
You send the specification, drawing or photos
Details of the connection help the most. If we know the joint width and the substrate, we do not have to guess.
You get a price per linear metre
Within 15 minutes on working days. For subcontracting, we reverse-charge the VAT.
We come and look if in doubt
If the substrate is unclear or the joint is tightly dimensioned, we measure it up before we name a figure.
We seal, you keep your schedule
A fixed team of professionals that we manage ourselves. We fit in with the scaffolding or aerial work platform schedule that is already in place.
Handover with video report
You get a record of what was done and where we make a reservation. The work carried out comes with a 2-year guarantee.
Scheduling
How many days it takes depends on the metres, the height and whether the old sealant has to come out. That last part usually takes more time than the sealing itself. During a site survey we measure it up and put the number of days in the quote, together with the scaffolding or aerial work platform schedule that is already in place.
What it costs
Price per linear metre
We charge facade work per linear metre, in tiers. The bigger the job, the lower the price per metre. You hear the amount in advance, including what is and is not included.
After handover
When to inspect
Inspect facade joints in the cold season. That is when the building components have contracted and the joint is at its widest. What looks closed in July is open in January.
Do the first inspection within a year of handover. After that, the VMRG specifies at least once every two years for facade elements. That fits well in a long-term maintenance plan (MJOP), so you plan replacement instead of chasing it after a leak.
Read more