
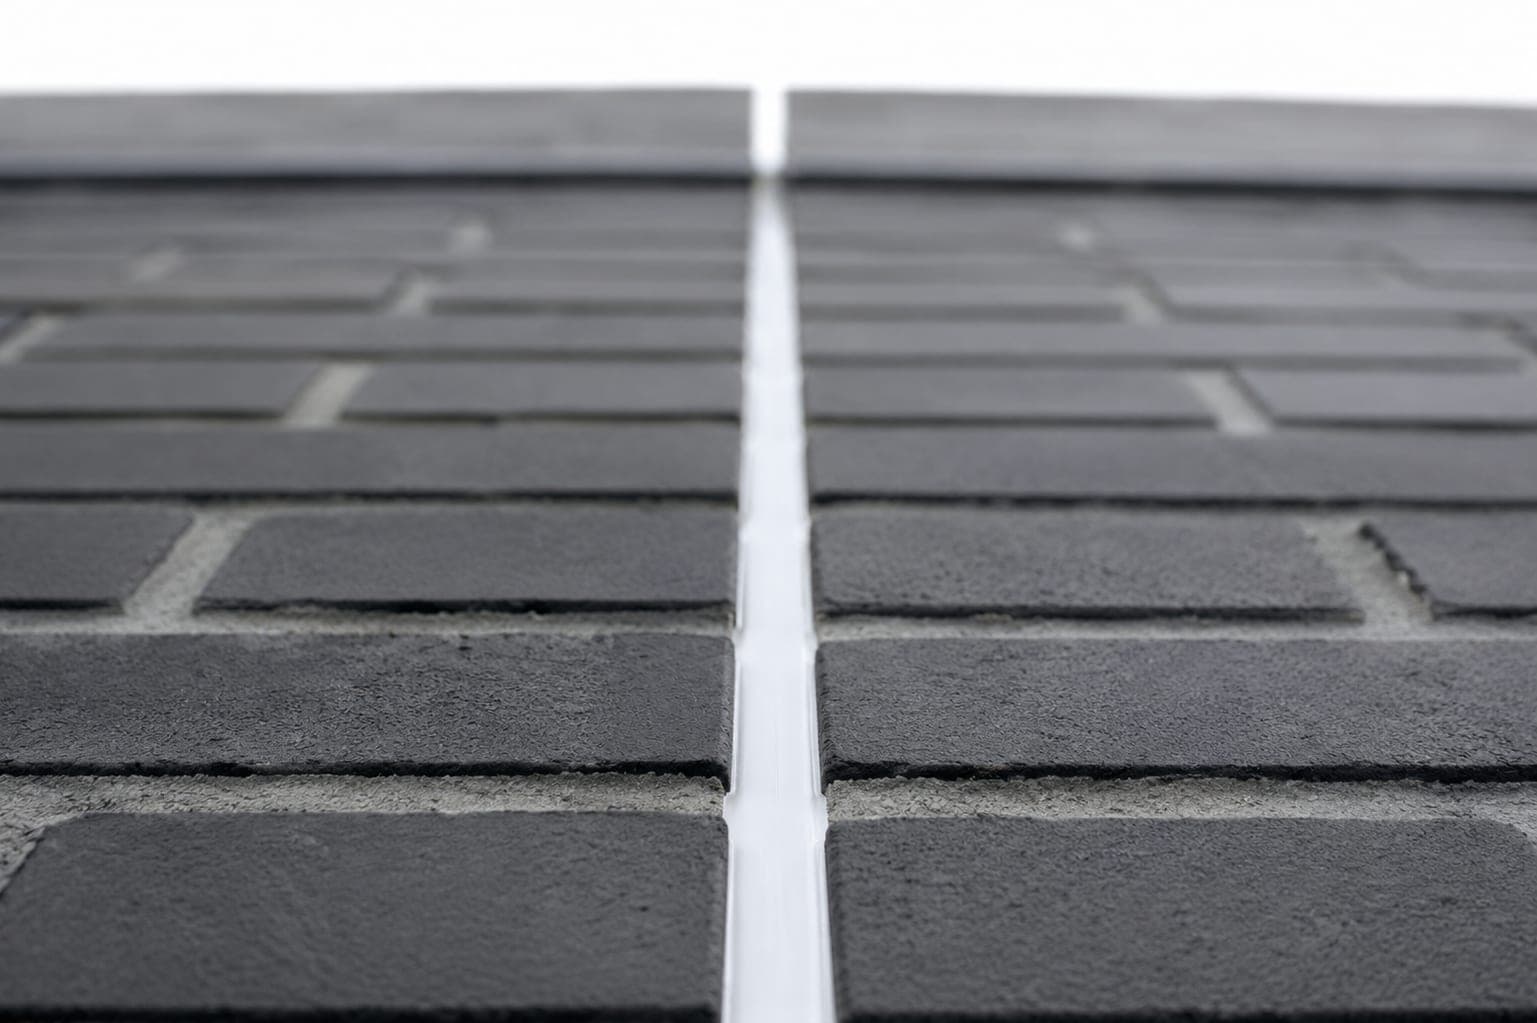
Facades & structural joints
Expansion joint sealing and replacement
Facade joints, connection joints and movement joints in concrete, masonry and precast. We cut the old joint out completely, calculate the new dimensions and fill it again. Work for contractors, facade contractors and property management.
Since 1959
Experience and craftsmanship from Utrecht
Clear communication
Short lines, clear agreements
100% satisfaction
We only leave once you are satisfied
Lasting quality
Top-quality materials for a long-lasting result
What we come for
Which joints we do
Expansion joints in concrete and precast
Vertical and horizontal movement joints between walls, floors and elements. Including the connection to columns and concrete bands.
Concrete bands and facade joints
Continuous bands in the facade, where sun and frost pull at the joint all year round. Old joint out, new dimensions in.
Connection joints between materials
Concrete to aluminium, masonry to plastic. These are the joints that take the most strain. Below you can read why.
Replacing existing joints
Cutting out, cleaning the flanks and making them sound, priming where needed. We do not top up an old joint that cannot cope with the movement.
Dimensions
The width follows from the movement
An expansion joint is not chosen by eye. You calculate it. How much does the building element move, and how much deformation may the sealant accommodate according to the manufacturer. That gives you a width.
Cross-section of an expansion joint
Cross-section of two building elements with a joint between them. At the top is the sealant, finished concave and thinner in the middle than along the flanks. Below it is a round backing rod that fills the joint and keeps the sealant off the bottom. The sealant adheres only to the left and right flank.
- Joint width. For elastic sealant, 8 mm is the lower limit. The depth follows from it: width divided by 3, plus 6 mm. A joint 18 mm wide therefore becomes 12 mm deep.
- The sealant. Finished concave and thinner in the middle than along the flanks. That way it stretches instead of tearing.
- The backing rod. Sets the depth and keeps the sealant clear of the bottom.
Width
At least 8 mm
For elastic sealant, 8 mm is the lower limit. Plasto-elastic sits at 9 mm, plastic at 10 mm. Any narrower and the joint will not hold.
Depth
Width divided by 3, plus 6 mm
A joint 18 mm wide becomes 12 mm deep. The sealant should be thinner in the middle than along the flanks. That way it stretches instead of tearing.
Ratio
Never a block of sealant
Filling a joint solid feels sturdy, but it works against you. Too much sealant in depth makes the joint stiffer than it should be.
Backing rod
Adhesion on two sides, not three
A sealant joint may only adhere to the two flanks. If it also sticks to the bottom, the middle can no longer stretch. That is called three-sided adhesion and it is the most common mistake in expansion joint work. The joint tears on the first cold night.
That is why there is always a backing rod or bond breaker tape behind the sealant. It is not filler to save material. It sets the depth and it keeps the bottom free.
Two adhesion faces, not three
Two cross-sections side by side of the same joint recess. Left, with a tick: the sealant is fixed to the two flanks and there is a backing rod underneath, so the bottom stays free. Right, with a cross: the sealant fills the whole recess and is also fixed to the bottom; a crack runs through the middle of the joint.
- Right. The sealant is fixed only to the two flanks. The backing rod keeps the bottom free, so the middle can stretch when the building element moves.
- Wrong. Without a backing rod, the sealant also adheres to the bottom. At the first movement the middle has nowhere to go and the joint tears open.
Outdoors: closed-cell PE
Closed cell does not take up water. For facade work and water exposure it is the only right choice. You fit it into the joint 25 to 50 per cent oversized, so that it sits tight.
Indoors: open-cell PU
Open cell lets the sealant cure on all sides. It gets 50 to 100 per cent oversize. Only use it where no water can reach.
What does not belong in there: wooden strips, rubber hose, PU foam and polystyrene. They adhere to the sealant, take up moisture or push the joint apart.
Movement
Why connection joints carry the heaviest load
Every material expands differently with heat. That difference ends up in the joint. Where two different materials meet, the difference counts double.
| Material | Expansion per degree |
|---|---|
| Concrete | 10 to 12 millionths |
| Aluminium | 23 to 24 millionths |
| PVC | 70 to 80 millionths |
PVC moves roughly seven times as much as concrete. A plastic window frame in a concrete facade therefore gives a much larger joint movement than two concrete elements against each other. On the south side, that same joint also gets the widest temperature range. That calls for a wider joint, not the same standard size.
Note
Class 25 is not a design value
ISO 11600 class 25 says the sealant has passed a test at 25 per cent deformation. It is a test result, not a value to calculate with. We size joints on the maximum permissible deformation from the manufacturer's data sheet. That is often lower.
Damage pattern
Adhesive or cohesive, that makes all the difference
During an inspection we first look at how the joint failed. That determines whether resealing makes sense.
Adhesive failure
The sealant comes away along the flank. That points to the adhesion: a dirty or dusty substrate, no primer, the wrong type of sealant or moisture during application.
Solution: cut out, strip the flanks bare and make them sound, prime and refill.
Cohesive failure
The crack is in the middle of the joint. The sealant itself could not cope with the movement. That almost always means the joint was designed too narrow.
Refilling then solves nothing. The joint needs to be wider, or it needs a sealant with more movement capability. We say so even when that means extra work.
Another classic in concrete work: acetic-cure silicone sealant on alkaline concrete loses its adhesion. It does not belong on bare aluminium, zinc, lead or natural stone either. We make that choice per connection.
Inspection
Look in winter, not in summer
Inspect expansion joints in the cold season. That is when the building elements have contracted and the joint is at its widest. Early detachment shows in January, while the same joint in July looks compressed and healthy.
For facade elements the usual line is: a first inspection within a year of handover, then at least once every two years. That fits well into a long-term maintenance plan. For planned work we record the joints on video before and after.
How it works
From site survey to handover
Site survey and measuring
We measure the existing joint width, look at which materials meet and assess the damage pattern. For new builds we work from the drawings or the specification.
Sizing and sealant choice
We calculate width and depth on the expected movement. Then we choose the type of sealant that suits both substrates, with the data sheet to hand.
Cutting out and preparing
Old sealant out completely, flanks bare, clean, dry and free of grease. Where the substrate calls for it, a primer goes on.
Backing rod and sealing
Backing rod at the right depth, with the right oversize. Then fill, press in and tool off, so that the sealant makes contact with both flanks.
Handover with documentation
You get a record of what was used and where. The work carried out comes with a 2-year guarantee. What is and is not covered is set out in the quote.
What it costs
Price per linear metre
We charge expansion joint work per linear metre, with tiered rates. The more metres in one job, the better the rate. For subcontracting work we apply the VAT reverse charge.
Send your specification, facade elevation or a few photos. Within 15 minutes on working days you will then get a price based on metres, not on an assumption.
Read more